How to sell on Vinted: a practical guide from photos to postage
A detailed Vinted selling workflow covering the photo set, searchable titles, honest descriptions, pricing, offers, packing and the rules every seller should check.
- Words by
 The Vintsnap team
- Updated
- Reading time
- 12 minutes
- Also in
- Read in French
Selling on Vinted is simple in the literal sense: photograph an item, describe it, set a price and upload it. Selling well takes a little more thought. A buyer needs to notice the listing, understand the garment and trust that the parcel will contain exactly what the photos promised.
That does not require a studio or a complicated reseller system. It requires a repeatable routine. Prepare the item, capture an honest set of photos, write down the useful facts, price against comparable listings and pack it promptly when it sells.
Before you list: check that the item belongs on Vinted
Vinted lets private sellers list many secondhand categories without a listing fee or selling commission. Its selling basics currently state that selling is free and that sellers can list as many items as they like. Rules still matter.
Check the current catalogue rules before listing cosmetics, electrical goods, luxury items, underwear, handmade goods or anything made from animal materials. A listing can be hidden when its category, condition, size, price or photos are unclear or misleading. Counterfeits, images taken from another website and prohibited items can be removed.
Commercial selling has a separate status. Vinted says sellers who operate for regular profit or represent a business may need a Pro account where available. If you source stock specifically to resell, read Vinted’s commercial selling guidance rather than assuming a personal account covers the activity.
Rules change, and they can differ by market. Treat the marketplace Help Centre as the final word, including after this guide has been updated.
Prepare the garment, not a miniature studio
Photography cannot rescue a jumper covered in lint or a dress with an unexplained mark. Give each item a quick inspection before reaching for the camera.
- Empty every pocket and check the lining.
- Remove lint, loose threads and detachable personal items.
- Fasten buttons and zips so the intended shape is visible.
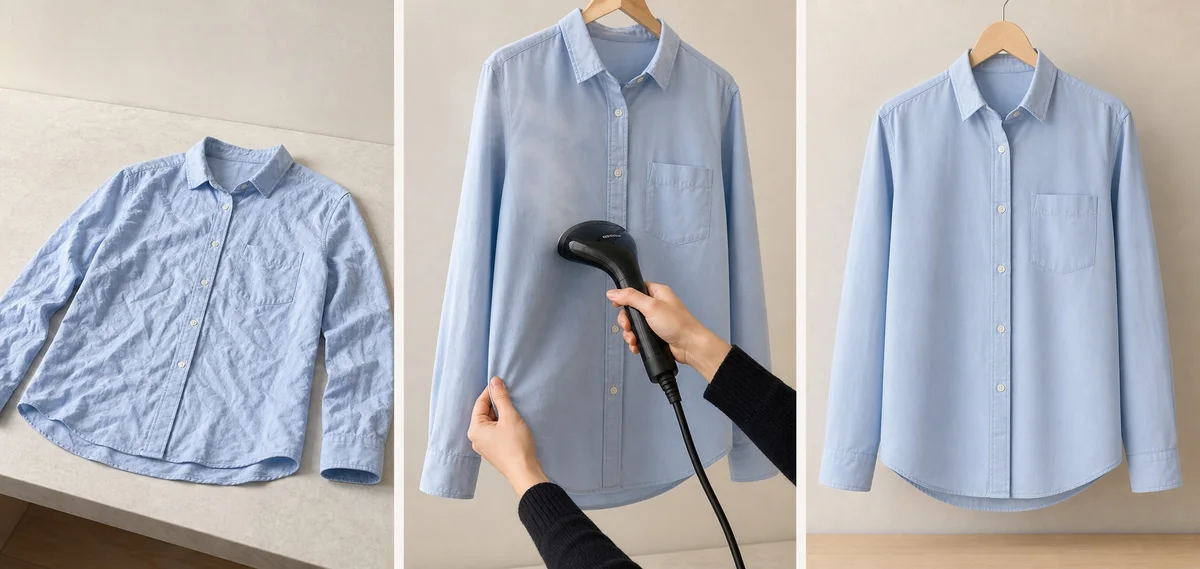
- Steam or smooth creases where the fabric allows it.
- Find the brand, size and care labels.
- Note every flaw, including pilling, repairs, fading and missing hardware.
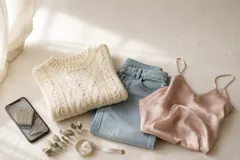
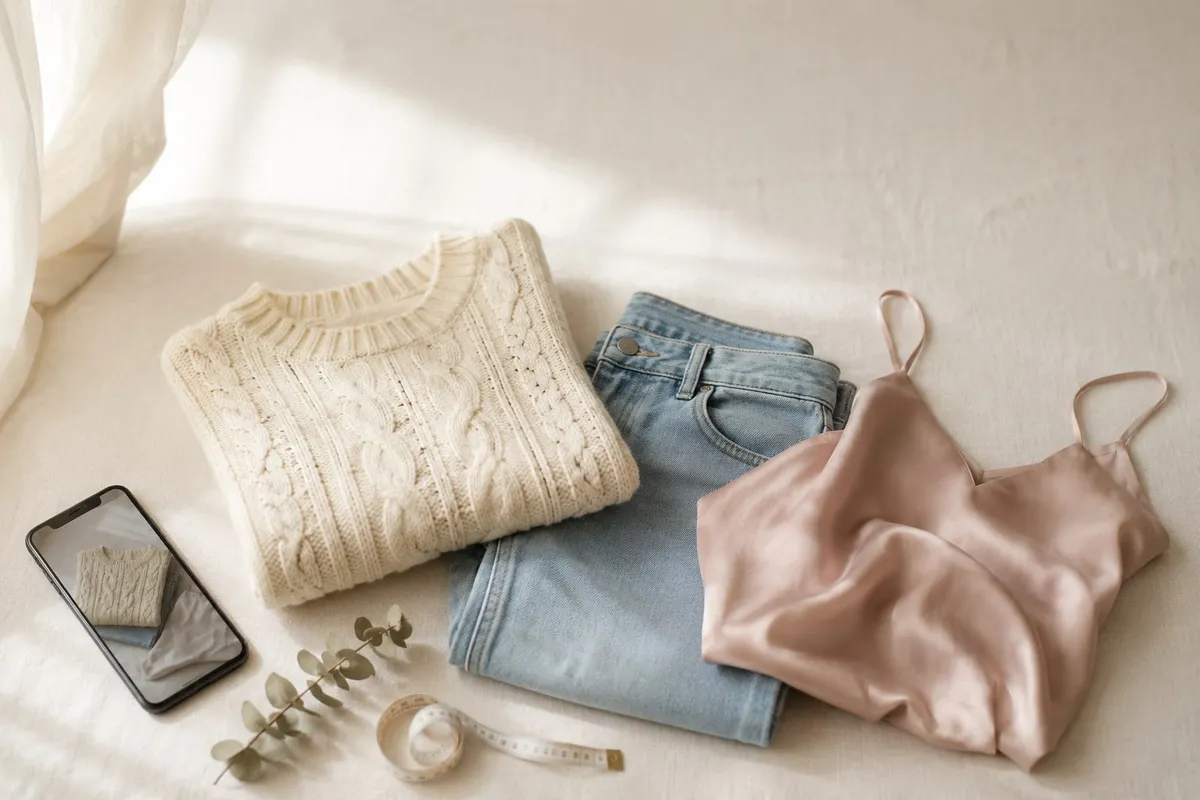
Put a tape measure, lint roller and a small notepad beside the photo area. This turns listing into a sequence instead of repeated trips around the room.
For a wardrobe clear-out, work in batches of five to ten pieces. Prepare everything first, then photograph everything, then measure and write. Switching tasks less often is usually quicker than finishing one listing at a time.
Build a photo set that answers the buyer’s questions
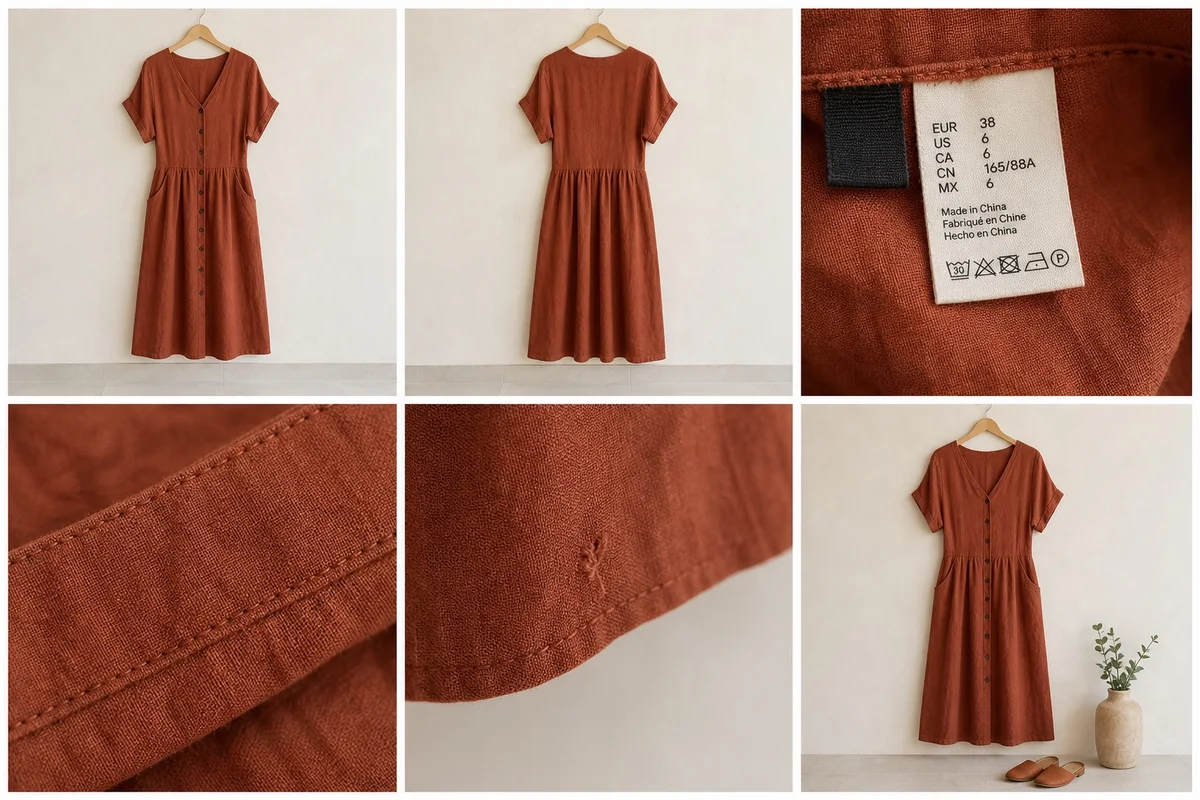
Vinted currently allows up to 20 photos on an item listing. You rarely need all 20, but one attractive image is not enough. A useful clothing listing normally needs six to eight.
| Position | Photograph | What it proves |
|---|---|---|
| 1 | Full garment, clearly framed | Shape, colour and overall appeal |
| 2 | Full back view | The complete item, not just its best side |
| 3 | Brand and size label | Brand, labelled size and authenticity clues |
| 4 | Care label | Fibre content and washing instructions |
| 5 | Texture or construction detail | Fabric, stitching, buttons, zip or print quality |
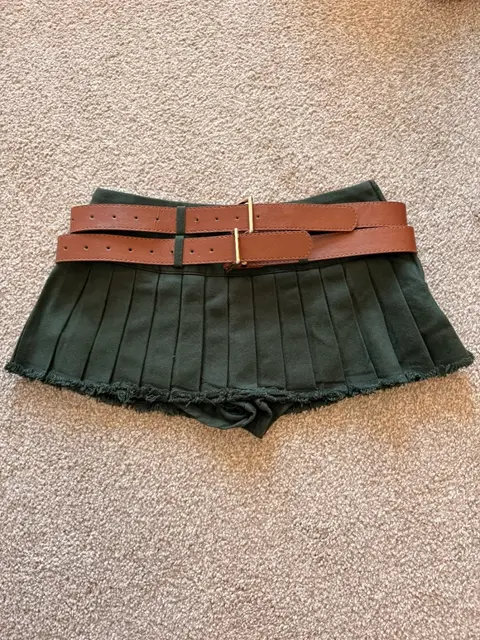
| 6 | Every flaw | Honest condition and fewer surprises |
| 7 | Key measurement | Scale and fit where sizing is inconsistent |
| 8 | Worn, mannequin or hanger view | Shape and drape, when useful and permitted |
The first image earns attention. The rest earn trust. If an item is designer or commonly counterfeited, include more close details, serial information and proof of purchase where relevant. Vinted’s guidance for branded items asks for clear natural light, a complete front and back, and several close-ups of identifying details.
 Vintsnap
 Your photo
 Vintsnap
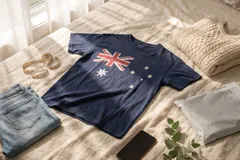
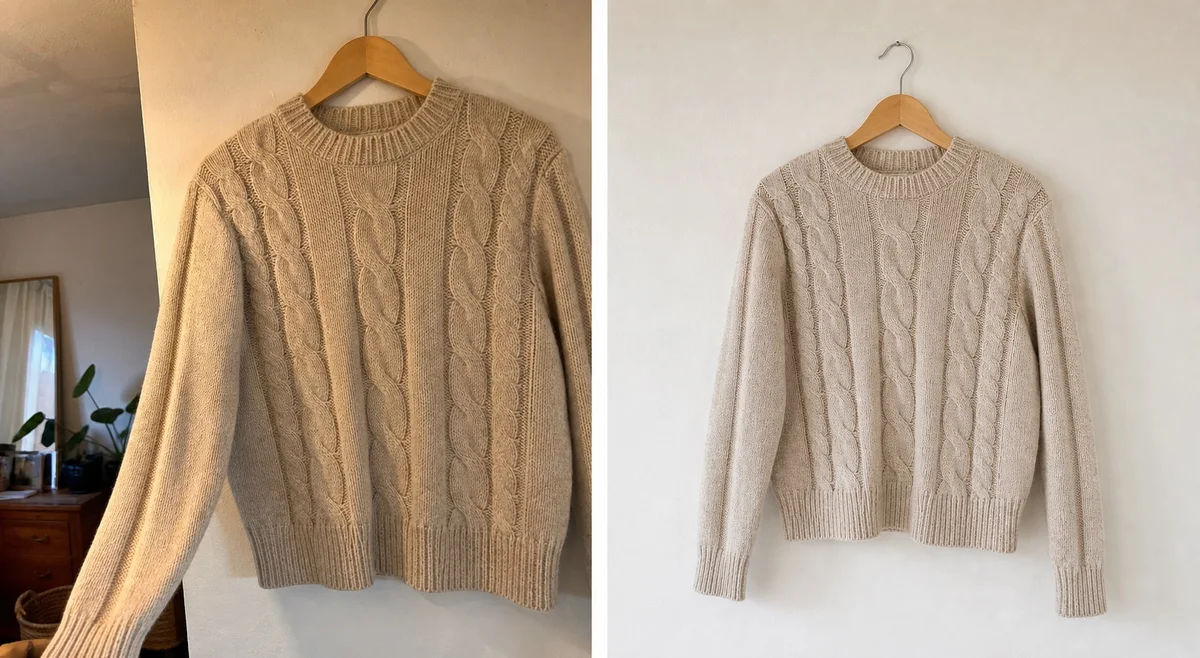
A quick source photo and a cleaner lead image. Keep the original views and detail photos in the same listing so the buyer can verify the real garment.
Try VintsnapKeep colours believable
Photograph beside a large window in indirect daylight when possible. Turn off warm ceiling lamps, which often make white fabric yellow and navy fabric black. Tap the garment on the phone screen to set focus and exposure, then compare the result with the item in your hand.
Do not push brightness or saturation until the garment becomes a different colour. A visually impressive photograph that causes a dispute is worse than a quieter accurate one.
Be careful with polished or generated images
Vinted requires listing photos to show the actual item and its real condition. It prohibits generic stock photos and photos copied from other websites. Its commercial-selling guidance also says standardised professional product photos can be treated as a sign of commercial activity.
If you create a cleaner lead image from your own garment photo, use it only when the piece remains accurate. Pair it with the original front, back, label, detail and flaw photographs. Never generate away a stain, alter the cut, invent a label or substitute a model image for evidence of condition. If you are unsure whether a particular image meets the rules in your market, use the original as the lead and check with Vinted.
Choose flat lay, hanger, mannequin or model on purpose
There is no single presentation that suits every garment.
- Flat lay works well for knitwear, T-shirts, scarves and pieces whose shape is obvious from above. Keep sleeves and hems symmetrical without pulling the fabric wider than it naturally sits.
- Hanger photos are quick and useful for shirts, light jackets and dresses. Use a plain hanger, keep the camera level and make sure the wall colour does not change the garment’s colour.
- A mannequin shows structure without introducing a person. It is useful for tailoring, fitted dresses and garments with a complicated neckline.
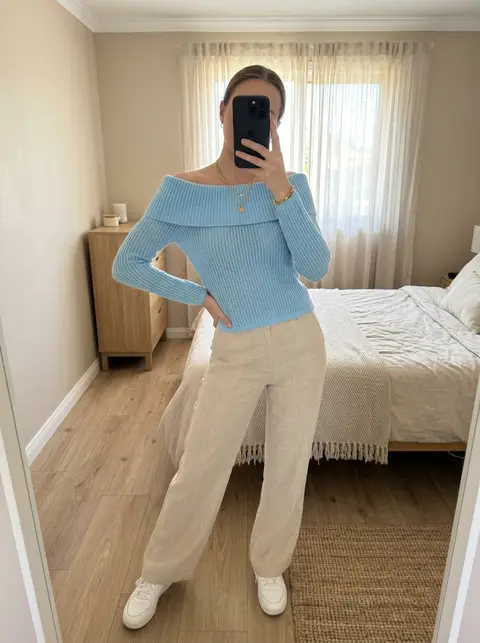
- A model view can explain length and drape, but it should not be the only evidence of fit. State the model’s relevant measurements only if you are comfortable doing so, and never imply the same fit is guaranteed for every buyer.
Our flat lay, model or mannequin guide goes deeper on which option suits different garment shapes.
Write a title for search, not for personality
Buyers search with concrete nouns. A useful title usually follows this order:
Brand + garment type + defining detail + labelled size + colour
For example:
Toast linen midi dress, UK 12, rustLevi's 501 straight jeans, W28 L30, mid blueUnbranded cable-knit wool jumper, M, cream
Do not stuff the title or description with unrelated brands. Vinted says inaccurate or excessive brand references and hashtags can cause a listing to be hidden. Choose the exact catalogue category and the actual brand, or select the no-brand option when appropriate.
If the marketplace provides separate fields for brand, size, condition and colour, fill them accurately even when those facts also appear in the title. Filters only work when structured fields are correct.
Write the description like a useful handover note
A strong description answers the questions a careful buyer would ask before messaging. It does not need to sound like an advert.
Use this order:
- One sentence identifying the item and how it fits or feels.
- The labelled size, followed by useful measurements.
- Material from the care label.
- Condition, with specific wear and repairs.
- Anything included or missing.
Here is a reusable example:
Rust linen-blend midi dress by Toast with a loose A-line shape and side pockets. Labelled UK 12. Approximate measurements laid flat: 51 cm pit to pit, 118 cm shoulder to hem. 55% linen, 45% cotton. Worn several times and freshly washed. Light rubbing at the inner neckline, photographed in image 7. No belt included.
Measurements are especially valuable for vintage clothing and brands with inconsistent sizing. For tops, measure pit to pit and shoulder to hem. For trousers, include the waist laid flat, rise and inside leg. Say that measurements are approximate and explain whether they were taken flat.
Vinted’s current description guidance asks sellers to disclose measurements, additional materials, alterations, missing elements and defects. Specific language such as “2 mm pull on the left cuff” is more useful than “good used condition”.
Price from evidence, not the number on the old receipt
The price you paid explains your attachment to an item, but not its current market value. Search for the same brand and garment type in a similar condition. Where sold results are available, give them more weight than unsold asking prices.
Consider four things:
- Condition: new with tags, lightly worn and visibly worn items are different markets.
- Demand: fabric, size, colour and season can matter as much as brand.
- Buyer total: the buyer may also see shipping and Buyer Protection costs at checkout.
- Your priority: a fast clear-out price is different from a patient collector’s price.
Leave a small amount of room for offers only if you are genuinely comfortable accepting less. Inflating every price in anticipation of negotiation can make the listing uncompetitive before anyone sends an offer.
Paid visibility, such as a Bump, is optional. Test the listing quality, category and price first. Promotion cannot fix a confusing cover image or a price far above comparable items.
Use offers and bundles without losing track of value
Offers are easiest when you decide three numbers in advance: the listing price, a reasonable offer and your firm minimum. This removes the temptation to make an irritated or impulsive decision in chat.
Bundles can help move lower-priced items because one parcel and one delivery cost can cover several purchases. Check the combined parcel size before accepting. Make sure each listing remains accurate and available, and never promise a discount that makes packing and travel cost more than the sale is worth to you.
Reply clearly and promptly, but you do not need to be permanently online. A short answer with the requested measurement is more persuasive than a string of sales messages.
Prepare for postage before the order arrives
Keep a small set of clean, suitable packaging ready. Reuse packaging when it is strong, dry and free from old barcodes or personal details. Protect the garment from rain inside the outer parcel, but avoid unnecessary layers.
After a sale:
- Recheck the garment against the listing and photograph any last-minute concern.
- Fold it cleanly and protect it from moisture.
- Use the carrier and parcel size selected in the order.
- Remove or cover every old shipping label on reused packaging.
- Dispatch inside Vinted’s stated window and retain the drop-off receipt.
Do not move the conversation or payment outside Vinted. The platform’s selling guidance recommends keeping the trade inside its system for tracked shipping, verified reviews and support.
A 30-minute batch routine for five listings
Once your tools are together, a small batch can move quickly:
- Minutes 0 to 5: inspect, lint-roll and order the five garments.
- Minutes 5 to 15: photograph full views, labels, details and flaws.
- Minutes 15 to 20: take the key measurements and note them beside each item.
- Minutes 20 to 27: write titles and descriptions from the notes.
- Minutes 27 to 30: compare prices, choose categories and review every listing before publishing.
Do not chase the clock on valuable or complicated pieces. The routine is meant to remove dead time, not remove care.
Vintsnap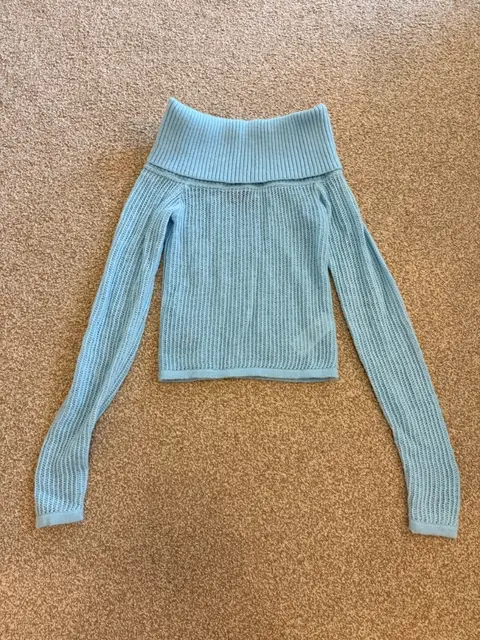 Your photo
 Vintsnap
Presentation can help a buyer understand the silhouette, while the original source and close details preserve the evidence they need.
Try VintsnapCommon reasons a listing stalls
Before paying to promote an item, diagnose the listing itself.
| Symptom | Likely issue | First change to test |
|---|---|---|
| Views are low | Weak first image, wrong category or vague title | Replace the cover and check structured fields |
| Likes arrive but no offers | Price or buyer total feels high | Compare similar items and test a modest reduction |
| Repeated sizing questions | Description lacks measurements | Add the relevant flat measurements |
| Buyers ask about condition | Wear is not shown clearly | Add close-ups and rewrite the condition note |
| Offers are far below target | Price may be anchoring poorly | Recheck sold evidence and set a firm minimum |
| The item is seasonal | Demand is temporarily limited | Wait, adjust price or relist when relevant, within platform rules |
One change at a time makes it easier to learn what was wrong. If the item still does not move, the honest answer may be that demand is low at that price.
The listing is a promise
The best Vinted workflow is not about making every old jumper look expensive. It is about making each item easy to assess. A strong lead photograph earns the pause. Original views, measurements and flaw photos let the buyer decide. A precise title makes the listing findable. Prompt, careful postage finishes the promise.
Build that sequence once, keep it beside your photo area and repeat it. The work becomes quicker because fewer decisions are left for the moment you are trying to list.